Consciously creating a beautiful life.


Showing posts with label gardening. Show all posts

Monday, 17 September 2012

What to do instead of cleaning


It is spring.

On Saturday we had the first bit of rain. The sky is cloudy, the bushes, the trees and the cacti start flowering, and my
mango tree is producing little green things that might one day become mangos:


While lying on my couch yesterday I had the splendid idea to do a thorough spring clean, starting Monday (which seemed
very far away then).

It is now 12 o'clock on Monday, and by procastinating very hard all morning I managed to not get started. This was quite exhausting...


To make myself feel better I did a very quick and useful little project.

Tear up some papers, punch holes into them, put a string through, hang up, and use to record things you have to buy or
projects you think you have to want to do.


Btw, the door in the background leads into my pre-teen's bedroom (I am not really a Selena Gomez fan, and having to pee is much more likely to get me up in the morning than my man :-) ).


Have a wonderful Monday, productive or not!


Lots of love,


Photobucket


Pin It


Tuesday, 5 June 2012

The end of sleeping beauty's castle


Where I grew up everything is green, moist, mainly overcast, and lush.

Where I live now we do not see clouds for about 9 months of the year. On the one hand, the endless sunshine
is wonderful. On the other hand, water is scarce and things tend to grow very, very slowly.

So whenever something is green in my garden it doesn't get touched. I know that this is not the best approach.
I also know that plants do (allegedly :-) ) better when they get cut back regularly.

Still, I just can't bring myself to do it.


The bougainvillea in front of the house has been growing unhindered since we moved in 7 years ago, and has
turned the stoep into a castle for sleeping beauty (she can be found there most Sundays, sporting a book and a
cup of tea):


Unfortunately, it got too heavy for the roof beam, and we ended up with this (I wedged a board underneath, and then
went on to happily ignore the situation for a couple of weeks):


But last Sunday I got evicted from my favorite winter reading spot (the sunlight just dapples through the leaves and
it is soooo comfy!), by two men carrying big gardening shears:


Despite some feeble protest I knew that it could not be avoided any longer. After apologizing profoundly to the plant,
I took Eva and the dogs for a long walk.

When we got back the bougainvillea had gotten a serious haircut, and my stoep had turned from a secluded, secret place
into an open and very visible area:


To be quite honest, I do not like it one bit. But I know it had to be done. I also know it is far from finished yet.
My man and a friend installed a similar (but much more elegant) version of my quick solution.
When we have some money left over the whole construction will have to be replaced:


Hopefully, by then I will have gotten used to being lazy in plain view of the common folk ...


Lots of love,


Photobucket


Pin It


Monday, 14 May 2012

Hothouse love and a Picmonkey how-to


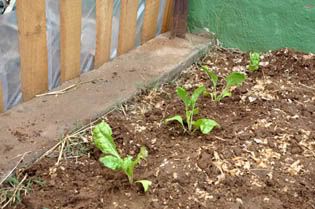
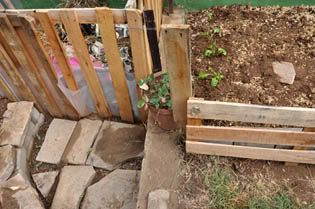
Our new hothouse is finished, and I am so in love with it!

The whole thing was built out of old pallets, with two layers of clear plastic as a 'skin'.

Now we must get planting!

So far we sowed tomatos, egg-plants, carrots, basil, fennel and cardamon, but I would love to add some fruit,
like raspberries and gooseberries.
Seeing that we are going into winter, I also moved my tree orchid inside.

We added two flaps to the hothouse to regulate the air circulation, one at the bottom and one one the other side
at the top.


And on my darling daughter's insistance I finally tried out Picmonkey.

It is quite fun!

Here a quick tutorial if you would like to make a collage:

First open any one of your pictures in Picmonkey.
Then click on 'overlays', open a square, make it white and draw it out until it covers your picture completely.
Next click onto the little squares with the arrow pointing down right at the bottom of the Picmonkey page to merge
the layers.
Then open the first picture you want to use for your collage, re-size it anyway you like it, and drag it in place.
Add the other pictures.
If you want a color field to put your text on again use any shape you like in 'overlay' and make it any color you like.
Then go to text (the 'P' on the picmonkey sidebar) and add text in whichever font you like.

Once you are done merge the layers again, and safe your picture.


Have fun playing around!


Love,


Photobucket


Pin It


Wednesday, 18 April 2012

Recycled seedling pots


Some time ago my daughter's art teacher asked the parents to please collect toilet rolls for a project.

I have been doing that ever since, throwing the empty rolls in a bucket in the bathroom.
Then we got an e-mail from the teacher saying that she has plenty of rolls by now, and that we don't have to bring
any more.

Unfortunately now it seems like such a waste to throw the collection away.
But what to do with them?

One thing I came up with is very handy for all budding farmers: Use them as seed pots.


Here is how to do it:


Collect some rolls (and beware of thieves).


You can see that she is an African dog, when I caught up with her and her prey she dissappeared by closing her eyes. Ostriches do the same when cornered :-).


If you could retrieve your rolls, make some cuts along the bottom:


Fold the cut pieces over to form a base:


Fill with soil and place a seed in. These here are lettuces:


Remember to keep the seeds damp, and when it is time to transplant the seedlings, just plant them into the soil with the toilet roll. The cardboard will disintegrate quickly.


See you tomorrow!


Love,


Photobucket


Ps: After I published this post I went outside, and there is the puppy dragging a seedling pot into her den. Had to decide between saving the lettuce and taking a picture. The seedling won.
Now they are all perched high up :-).


Pin It


Tuesday, 17 April 2012

How to make a veggie bed


For years I have wanted a veggie bed.

I cannot count how many attempts I had at establishing one.
In the sun, in the shade, in pots...
Nothing worked.

Which might have to do with my rather black thumb.
Or it might have to do with me never really preparing the beds properly.

And with not having had the magic ingredient.


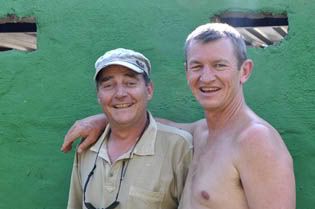
Here it is:

Photobucket Photobucket

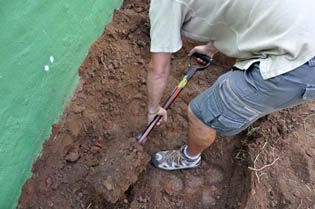
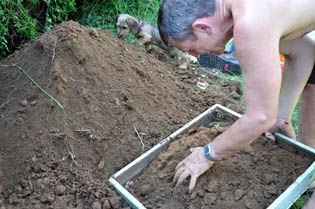
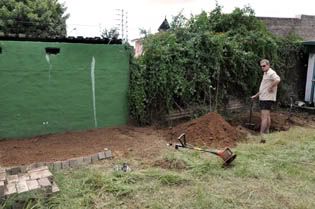
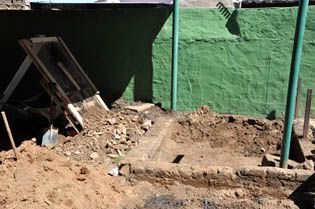
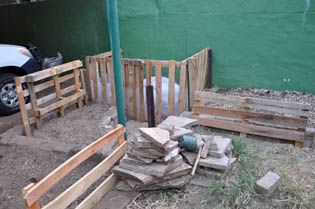
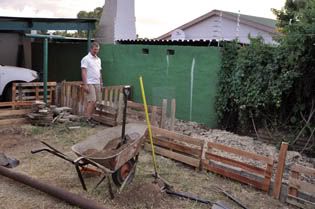
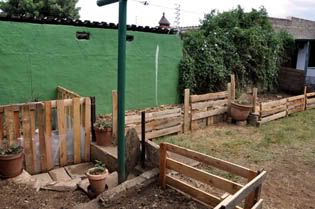
These lovely guys spent days digging, sifting, taking out stones, mulching and building fences.


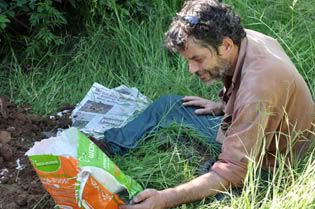
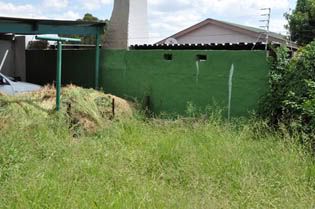
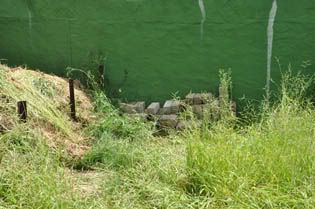
The story of the veggie bed in pictures:

Photobucket Photobucket


Photobucket Photobucket


Photobucket Photobucket


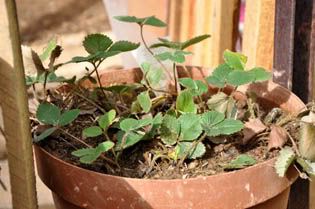
And now it is up to me to start planting. It is just a pity that we are going into winter :-)

Hopefully cabbage, pumpkin, spinach and swiss chard will grow anyway, and the veggie venture will be more
successful then my egg producing business :-).


I will keep you informed.


Have a wonderful day!


Lots of love, 


Photobucket


Pin It


Related Posts Plugin for WordPress, Blogger...